
What Gets Transferred - and What Doesn't
Understanding what your backup actually covers helps you avoid unpleasant surprises. Both Android and iPhone backups typically include:
- Contacts and call history
- Photos and videos (if synced to the cloud)
- Text message history
- App icons and home screen layout
- Most app data (for apps that support cloud sync)
What is not automatically transferred includes downloaded music not purchased through the platform's store, some in-app purchases (particularly in games), and any files saved only locally on the device. If you're new to smartphones in general, the Plain-English Introduction to Getting Started covers what's stored where on your device.
Back Up Before You Start
Never begin a phone transfer without first creating a backup of your old device. If anything goes wrong mid-transfer, a backup is your only safety net. Both Android and iPhone allow you to back up to cloud storage or a computer - take the time to confirm the backup is complete before proceeding.
Step-by-Step: Transfer Your Data
Follow these steps in order. Before you begin, make sure you have everything you need:
What you will need
Google Account (Android)
Stores and restores contacts, calendar, app data, and photos via Google One or built-in backup.
Apple ID (iPhone)
Used to access iCloud backup and restore your photos, contacts, messages, and app purchases.
Google Photos or iCloud Photos
Cloud photo library that keeps your entire camera roll accessible on your new device after sign-in.
Transfer cable or Move to iOS / Switch to Android app
Enables direct device-to-device transfer for users switching operating systems.
Charge Both Phones Fully First
A transfer interrupted by a dead battery can leave your new phone in an incomplete state. Plug both devices in before starting, and keep them connected throughout the entire process. This is a small step that prevents a frustrating restart.
Back up your old phone
On Android: Open Settings → System → Backup and toggle on Back up to Google Drive. Tap Back up now and wait for it to complete.
On iPhone: Open Settings → tap your name → iCloud → iCloud Backup → Back Up Now. Stay on Wi-Fi until finished.
Insert your SIM card into the new phone
Power off your old phone. Use the SIM ejector tool (usually included in your phone's box) to remove the SIM card tray. Transfer your existing SIM to the new device, or insert a new SIM provided by your mobile carrier. Power on the new phone.
Follow the setup wizard and choose restore from backup
Every new smartphone walks you through an initial setup screen. When prompted, select Restore from backup rather than setting up as a new device.
- Android: Sign into your Google account when asked. The wizard will offer to restore from your most recent Google backup - confirm and proceed.
- iPhone: On the Apps & Data screen, choose Restore from iCloud Backup, sign in with your Apple ID, and select the most recent backup.
Wait for apps and data to download
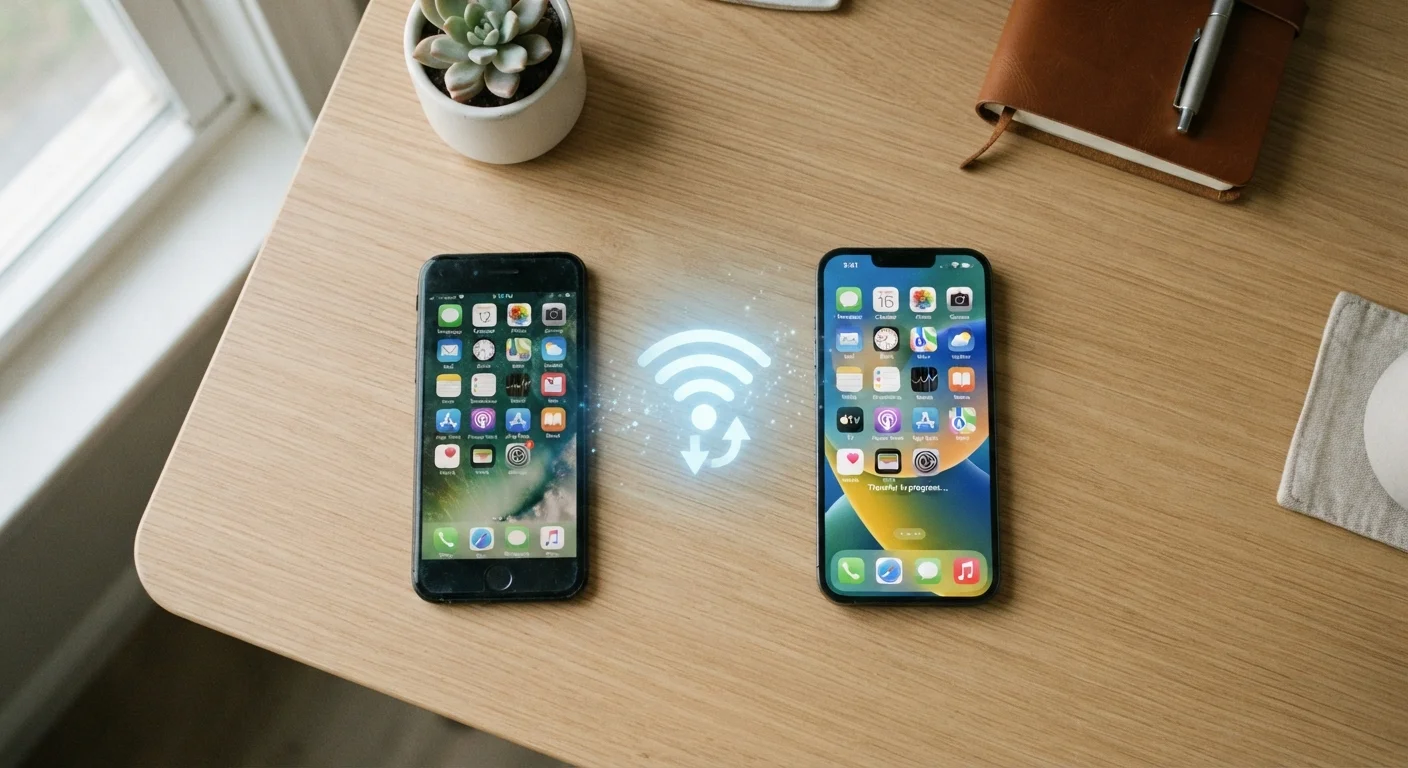
Your new phone will begin downloading your apps and restoring your data automatically. This can take anywhere from 10 minutes to over an hour depending on how much data you have and your Wi-Fi speed. Keep the phone connected to Wi-Fi and plugged in during this process.
Most apps will appear on your home screen grayed out while they download - this is normal. They will become usable once installation finishes.
Re-log into your key apps
For security reasons, most apps require you to sign in again on a new device. Go through your most important apps - banking, email, social media - and log in using your usual credentials. Have your passwords ready, or use your password manager if you use one.
If you've set up two-factor authentication (2FA) on any account, make sure you have access to your authentication method (such as an SMS code or authenticator app) before proceeding. See our guide to smartphone security for a refresher on 2FA.
Verify your photos, contacts, and messages
Open your gallery app and confirm your photos are present. Check your contacts list and send a test message. If anything is missing, open your cloud storage app (Google Photos or iCloud) - photos stored in the cloud may still be downloading in the background.
If contacts aren't appearing, check that contact sync is enabled: on Android go to Settings → Accounts → Google → Account sync and enable Contacts; on iPhone go to Settings → [Your Name] → iCloud and toggle on Contacts. For more on sync issues, see why syncing breaks and how to fix it.
Once you're satisfied everything transferred correctly, you can prepare your old phone to be passed on or recycled safely. Our article on protecting personal data before handing over your phone explains exactly how to wipe it properly.
Switching Between Android and iPhone
Moving from Android to iPhone (or vice versa) means you cannot directly transfer apps, since each platform uses a separate app store. You will need to reinstall apps manually and may lose in-app progress that wasn't synced to a cloud account. Plan ahead by noting which apps you use regularly and which accounts you'll need to log back into.